




Hobbies · 4 min
Watercolor Painting for Beginners
Nutshell A small kit, the right paper and a handful of techniques are all it takes to start with watercolor. Practice exercises, first subjects and the reasons colours turn muddy.
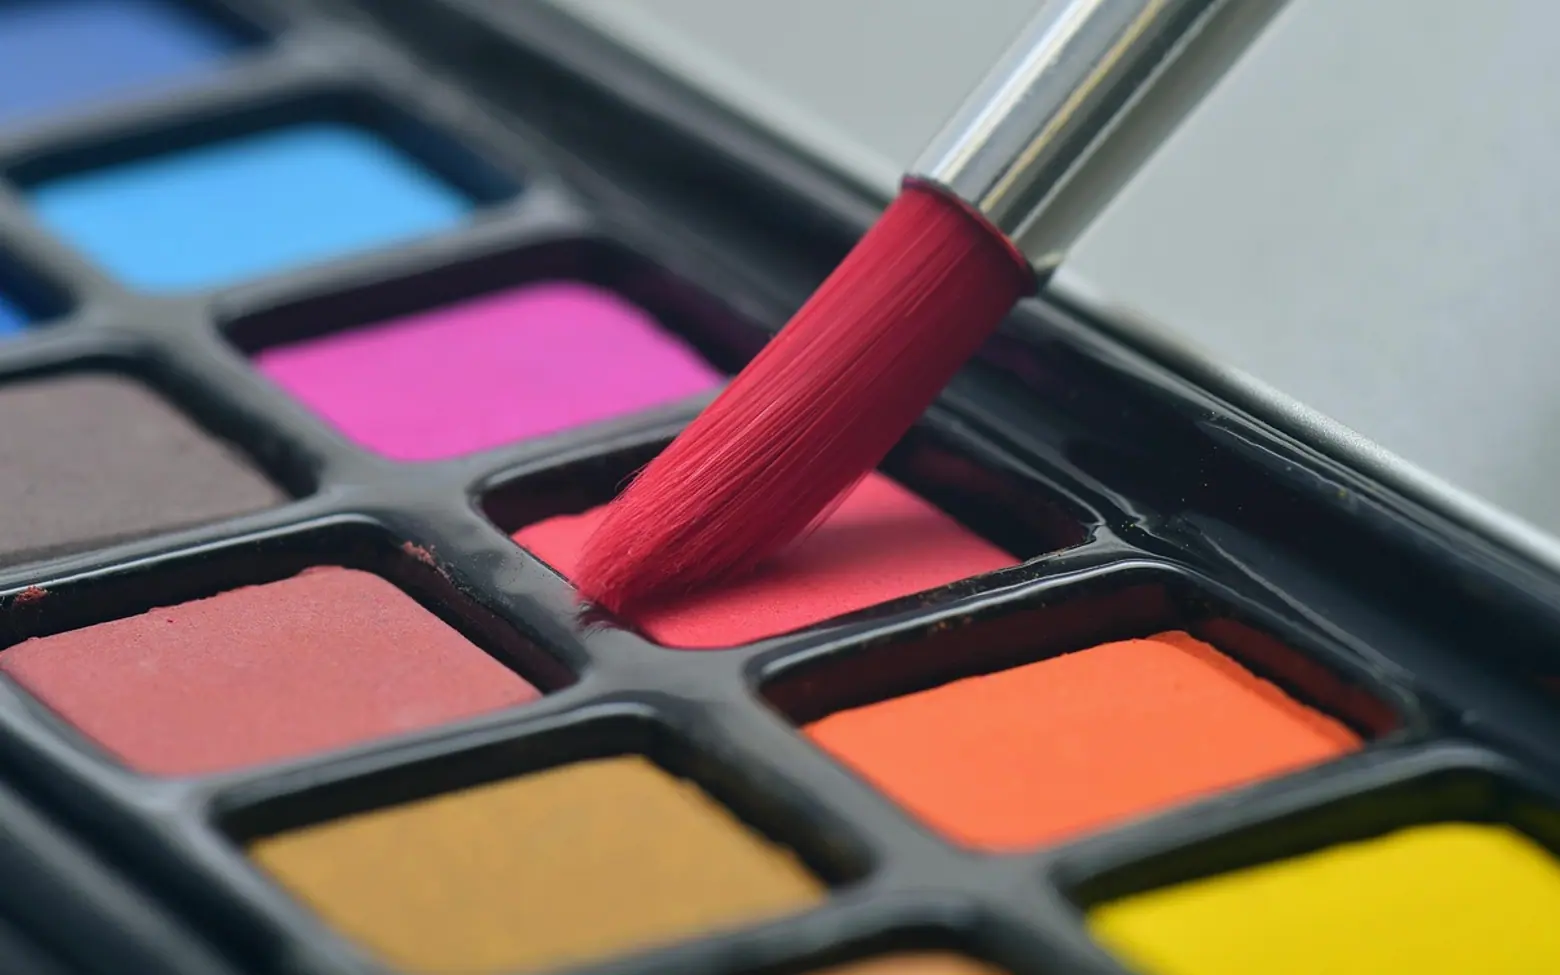
Watercolor is one of the easiest painting mediums to start and one of the most rewarding to keep at. You need a small set of paints, two or three brushes, proper watercolor paper and two jars of water. Spend your first sessions learning how water and pigment behave together rather than trying to paint a masterpiece, and progress comes surprisingly fast.
The starter kit
| Item | What to look for | Why it matters |
|---|---|---|
| Paper | Cold-pressed watercolor paper of 300 gsm (140 lb) or heavier | Thin paper buckles and pills once it gets wet |
| Paints | A small set of pans, or six to eight tubes | Fewer colours teach mixing; huge sets mostly gather dust |
| Brushes | One medium round, one small round, one flat | The medium round alone can paint washes and fine lines |
| Palette | A white plastic or ceramic tray, or an old white plate | White shows the true colour of a mix |
| Extras | Two water jars, paper towels, masking tape, a pencil | One jar rinses dirty brushes, the other stays clean for mixing |
If the budget only stretches to one good item, make it the paper. Student paints on good paper behave far better than expensive paints on thin paper. Paper made from cotton holds washes more evenly than wood-pulp paper, though the cheaper kind is fine for practice sheets.
Pans or tubes?
Pans are small dry cakes that you wake up with a wet brush. They are tidy, portable and ideal for sketching outdoors. Tubes hold soft paint that you squeeze onto the palette, which makes it easier to mix large, strong washes. Both work. Student-grade paints are cheaper and contain less pigment; artist-grade colours are more intense and often worth it for a few favourite shades later on.
A palette that teaches mixing
Instead of buying every colour, start with a warm and a cool version of each primary: a warm and a cool red, a warm and a cool yellow, a warm and a cool blue. From those six you can mix clean greens, oranges and purples, plus soft greys and browns. Add one earthy brown if you like painting landscapes. A limited palette also keeps paintings harmonious, because every colour shares the same parents.
Five techniques to learn first
Flat wash
Tilt the board slightly, load the brush generously and paint horizontal strokes that overlap the wet bead of paint gathering at the bottom of the previous stroke. The aim is an even area of colour with no stripes. Skies and backgrounds start here.
Graded wash
The same method, adding a little more water with each stroke so the colour fades from strong to pale. Perfect for skies that lighten towards the horizon.
Wet-on-wet
Brush clean water onto the paper, then touch colour into it. The paint blooms and spreads with soft edges you cannot get any other way: clouds, misty hills, blurred backgrounds.
Wet-on-dry
Paint onto dry paper for crisp, controlled edges. Use it for details, shapes and anything that needs to read clearly.
Lifting
While the paint is still damp, press a clean tissue or a thirsty brush onto it to pull colour back out. It is handy for clouds and highlights, and for rescuing an area that went too dark.
Practice exercises
- Swatch chart: paint a small square of every colour you own, strong at one end and watered down at the other. Label them; it becomes your reference card.
- Value strip: using one colour, paint five boxes from palest to darkest. This trains your eye for light and shade, which matters more than colour.
- Mixing grid: cross each primary with every other and paint the result where the row and column meet.
- Wash sheet: fill a page with flat and graded washes until the stripes disappear.
Good first subjects
- A simple landscape: graded-wash sky, a band of hills, a darker foreground.
- Single leaves or flowers painted wet-on-dry, one or two colours each.
- Round fruit, which teaches light, shadow and soft edges.
- Loose abstract shapes, to practise letting colours mingle without worrying about results.
Why colours turn muddy, and other early snags
- Too many pigments in one mix: stick to two, three at most, and colours stay fresh.
- Overworking: scrubbing a passage again and again lifts paper fibres and dulls colour. Paint it, then leave it.
- Layering too soon: wait until a layer is completely dry before glazing another on top, unless you want the colours to blend.
- Losing the whites: watercolor has no true white paint in the traditional approach; the white is the paper. Plan where the highlights go before you start.
- Buckled paper: tape all four edges to a board before painting and leave it taped until dry.
Caring for brushes
Rinse brushes thoroughly after each session, reshape the tip with your fingers and let them dry lying flat or hanging tip down. Never leave a brush standing in the water jar; it bends the bristles permanently.
Where to take it next
Watercolor travels well, so a small sketchbook and a pocket set turn any park bench into a studio. Painted swatches and little sketches also look lovely inside a bullet journal. If you enjoy hands-on hobbies with a slow, steady rhythm, crochet and knitting scratch a similar itch with yarn instead of paint.
Got a topic idea?
Suggestions help us plan.